A Builder's Guide to Video Production for Social Media
Plan, film, edit, and post video that builds trust and wins projects.

June 6, 2026

2025-10-19T07:17:08.216Z
Plan, film, edit, and post video that builds trust and wins projects.
For builders, video production for social media isn't about chasing trends. It's about content that builds trust and helps you land better projects. It's the best tool you have for showing clients the quality of your work before they pick up the phone.
Word-of-mouth alone isn't enough. Clients do their homework online, scrolling Instagram and Facebook to see who they can trust with their biggest investment. A photo shows the finished product. A well-made video tells the whole story. The goal isn't to become an influencer. It's to make your company the obvious choice for the projects you want.
Video is the closest a client can get to a site visit without leaving the living room. It's your chance to make a strong first impression that static images can't match.
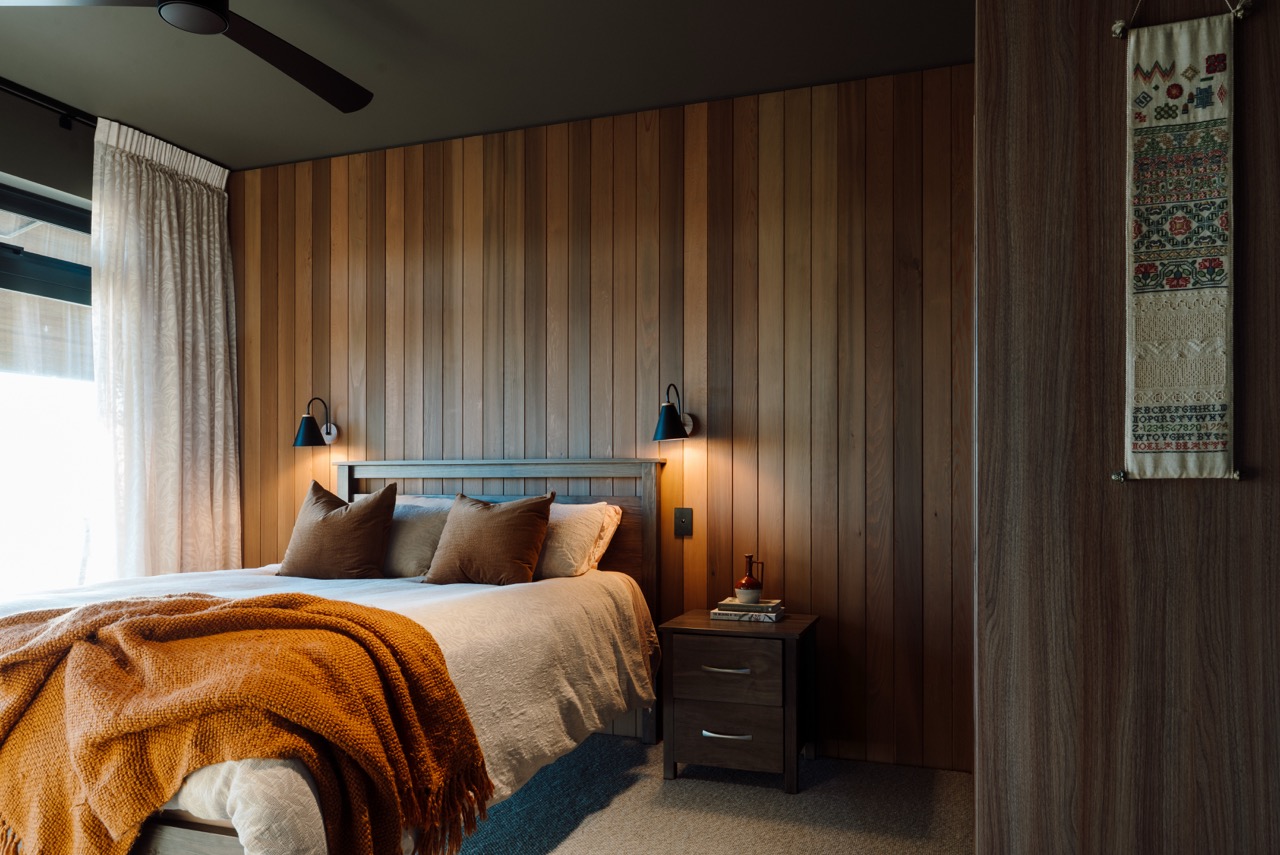
A high-quality video does more than show a finished renovation in Tauranga. It shows your standards. When a client sees smooth footage of your team working together, clear shots of precise joinery, and a tidy worksite, the message is clear. You're organised, professional, and proud of your craft. This visual proof builds instant credibility and answers a client's biggest questions before they ask.
Your ideal clients are already on social media, looking for inspiration and vetting builders. In New Zealand, that audience is large. As of early 2024, Instagram has about 2.50 million users in NZ, nearly half the population, with over 58% of adults on the platform. That's a direct line to homeowners planning their next build.
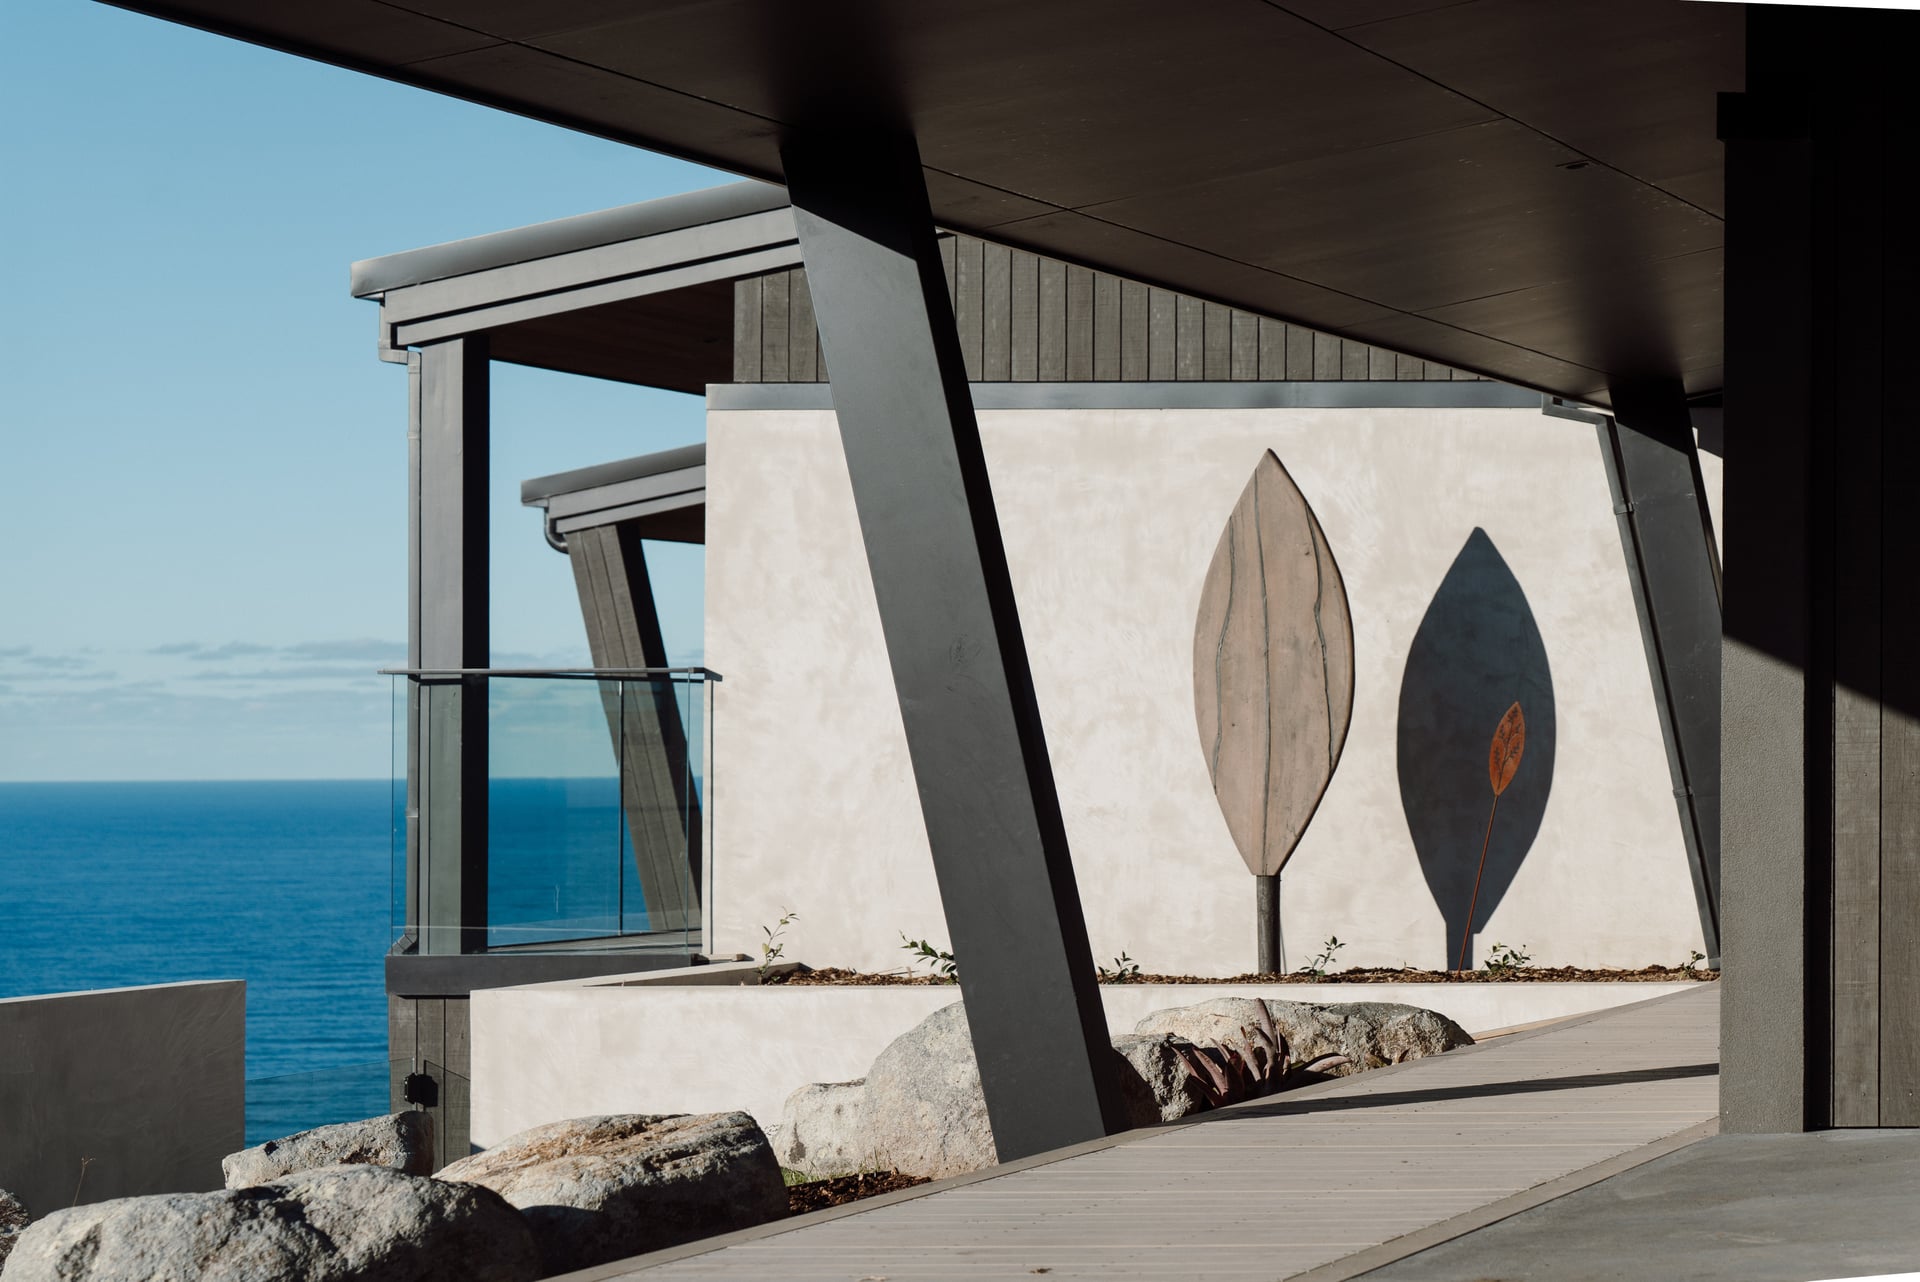
Every video you post is a magnet for the right work. It's your digital portfolio, working for you around the clock. When a prospect watches a behind-the-scenes clip of a challenging coastal build you nailed, they're seeing proof of your expertise. A consistent, professional presence gets you calls from serious clients who already trust your ability to deliver. To get started, see our guide to the fundamentals of video production for builders.
Great video work doesn't just happen. It's the result of a plan, mapped out before anyone hits record. Filming without a purpose is like framing a wall without plans. Your blueprint ensures every video has a specific job, whether that's bringing in enquiries, showing build quality, or building trust.
Before you brainstorm ideas, nail your core message. What's the one thing you want clients to remember about your company. Is it the precision of your finishing work. Your transparent, no-surprises process. Your team's expertise on complex architectural builds. Pick one primary message to anchor your content. Everything you film should circle back to it.
A content calendar can be simple. It's not about posting every day. It's about posting high-quality, purposeful content consistently. Quality beats quantity. Pick a monthly theme, like "Kitchen Renovations" in March and "Outdoor Living Spaces" in April. Use key project milestones, the foundation pour, framing going up, the final walkthrough. And batch your filming. When a camera operator is on site, have them capture footage for several short videos at once.
Your videos don't need to be Hollywood productions. They need to be authentic and offer real value. For more, see our complete guide to builder content creation. The site walkthrough is a short tour of a project underway, highlighting a challenge you overcame. Client testimonials are marketing gold, providing social proof that builds instant trust. Behind-the-scenes updates show the real work, your team setting trusses or installing custom cabinetry. And "meet the team" shorts put a face to the name, making your company more approachable.
You don't need a film crew and a truck full of gear. You need the right tools. A simple, reliable kit means you can capture high-quality footage on a busy site without causing delays. This isn't about the most expensive camera. It's about being smart with a few key pieces of equipment.
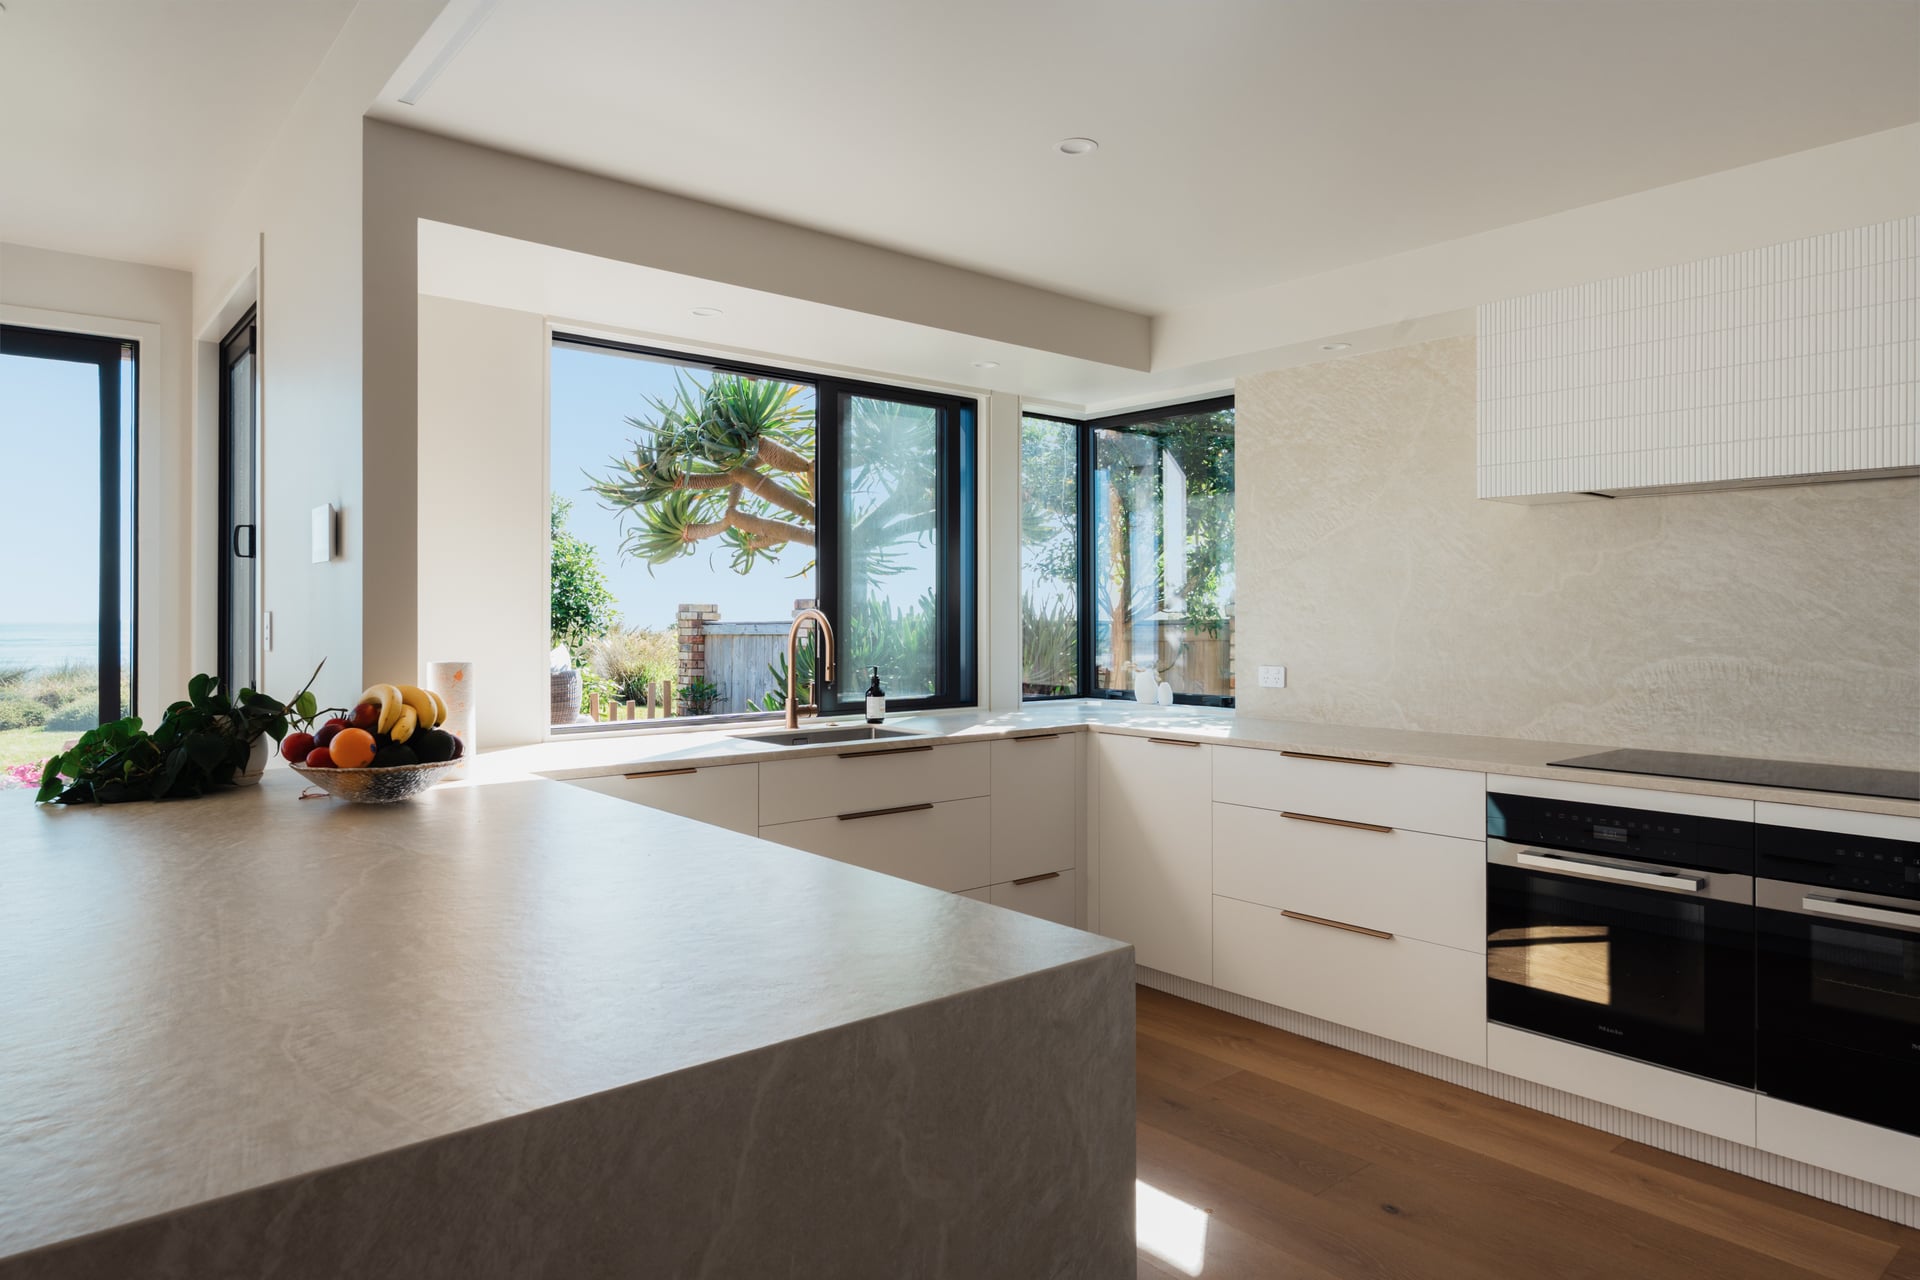
Your smartphone is a powerful tool. Modern phones from Apple and Samsung have cameras capable of producing fantastic social content. The secret is backing them up with the right accessories. A solid tripod is non-negotiable, the single best investment to improve your video quality and kill the shaky look that screams amateur. An external microphone isolates your subject's voice from every saw, gust, and distant radio. A gimbal captures smooth movement for professional walkthroughs of a finished kitchen.
Before you hit record, take five minutes to walk the site. Look for the best angles, see where the light is falling, and identify background noise that could ruin your audio. This is where your social video production comes to life.
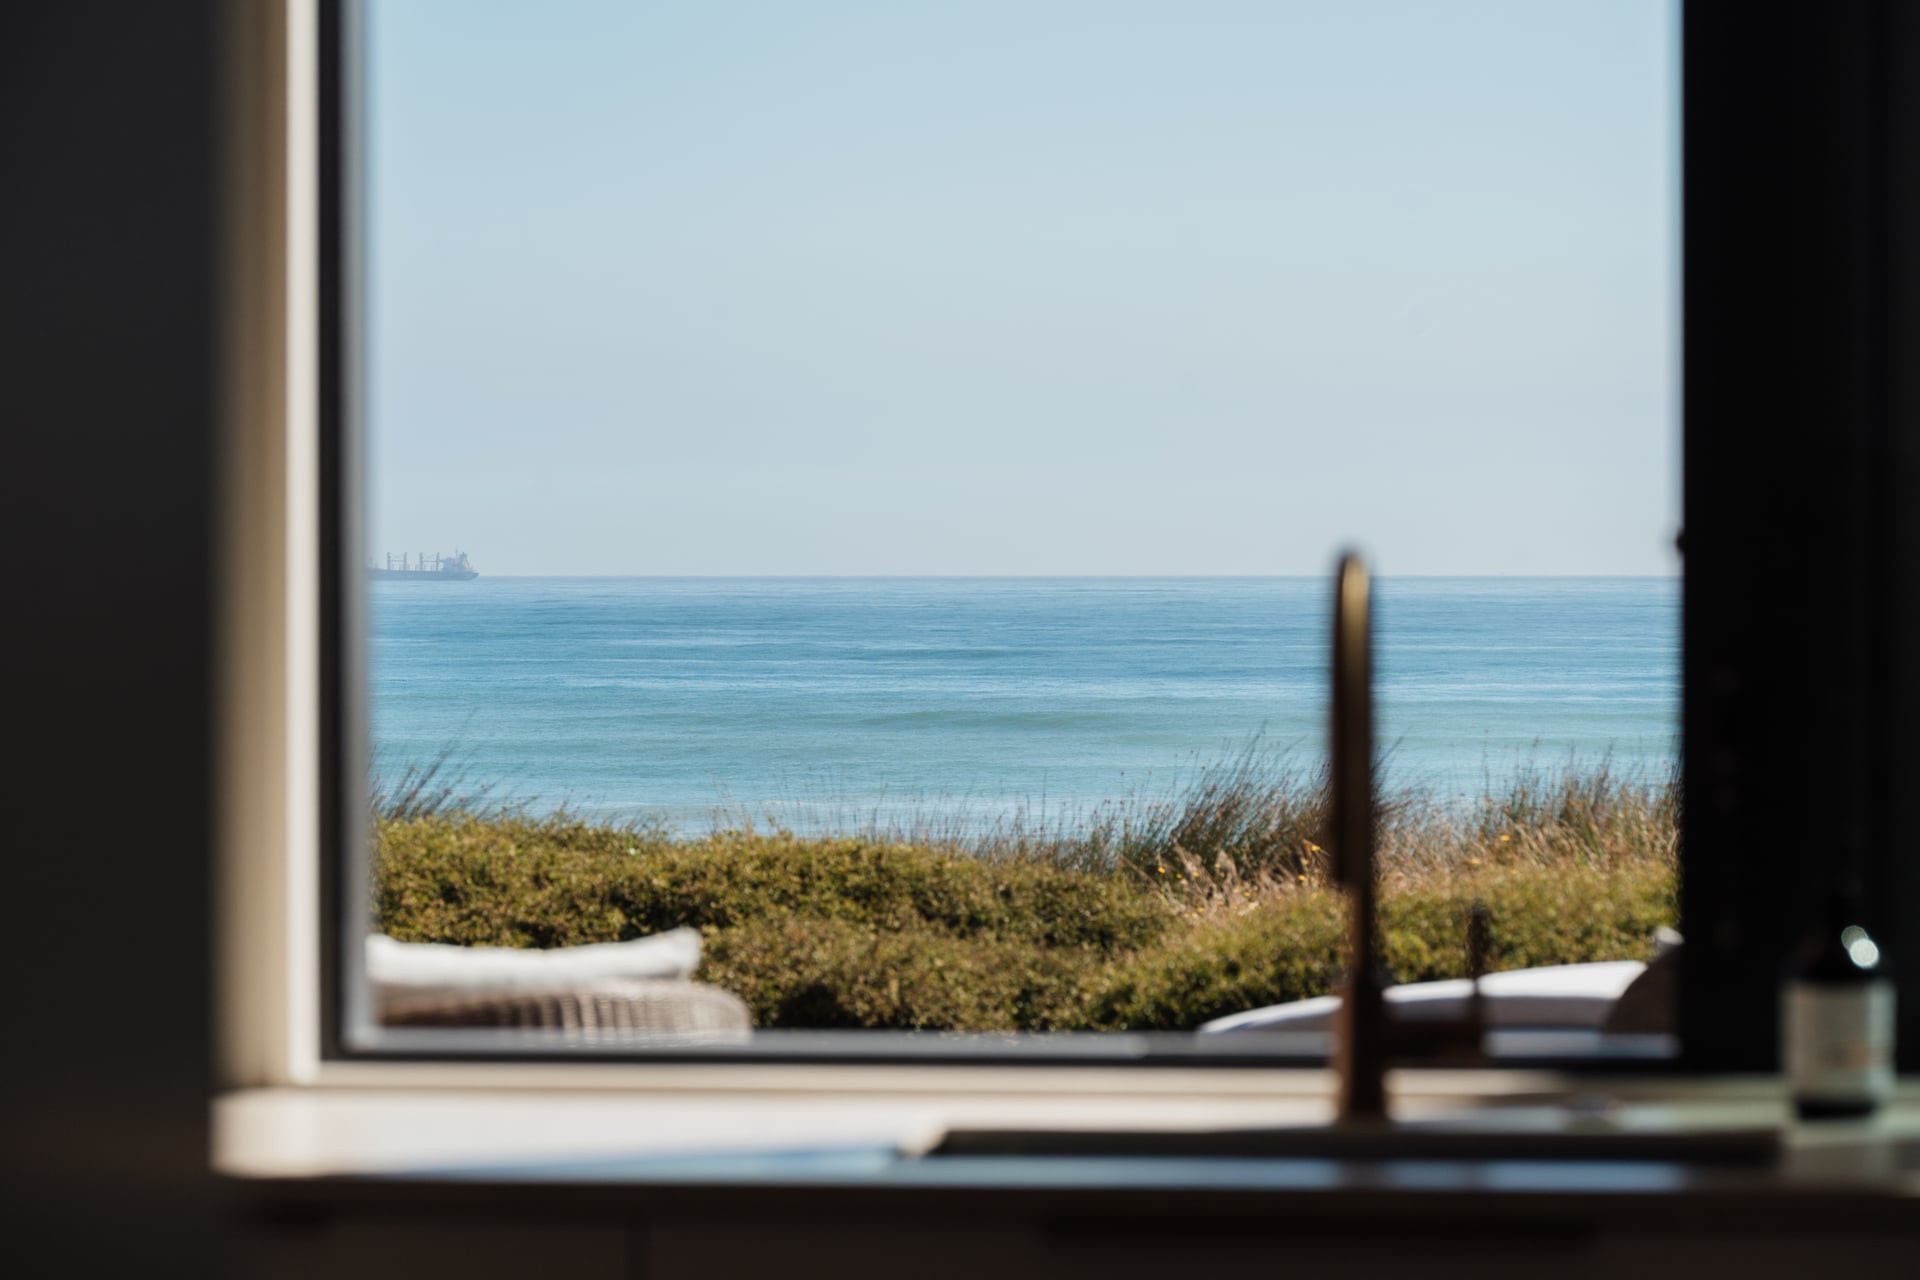
Good lighting is everything. Avoid shooting with the sun directly behind your subject, or you'll get a dark silhouette. Position yourself so the sun lights their face or the feature you're filming. The golden hour, the soft light early morning or late afternoon, is your best friend. It makes materials like timber and stone look rich and textured. Indoors, use window light to your advantage.
Even with a good external mic, a noisy site is a challenge. Film interviews or pieces-to-camera during quieter moments, like smoko or the end of the day. If you have to film with background noise, get the microphone as close to the speaker's mouth as possible.
Don't just stand in the middle of a room and hit record. Use the rule of thirds: imagine a grid over your screen and place your subject along those lines. Use leading lines, a fenceline or a hallway, to draw the eye to your subject. And vary your shots, mixing wide shots to establish the scene, medium shots to show the action, and close-ups of details like custom joinery. Variety keeps people watching.
You've got the footage. Now turn those raw clips into a story that sells your skill. Editing separates an average phone video from a professional piece. Don't be intimidated by complicated software. The goal is a clean, simple workflow that produces a credible video ready for social media.
Your editing software should fit your workflow, not complicate it. Some of the best options are probably on your phone already. CapCut is user-friendly and packed with features, perfect for trimming clips, adding text, and finding music. Adobe Premiere Rush is a great all-rounder that syncs between phone and desktop. If you'd rather work on a desktop, DaVinci Resolve has a free version with professional-grade tools. The main thing is to pick one and get comfortable.
A consistent process saves time and keeps every video looking professional. Trim the fat: cut shaky footage, awkward pauses, and unusable bits. Assemble your story: arrange trimmed clips in a logical sequence, before then after, or walk the viewer through a process. Add clean transitions: a simple cut or subtle cross-dissolve looks far more professional than star wipes. Polish the audio: make speech clear and add royalty-free background music at a low volume.
Your goal in editing is clarity, not complexity. A well-paced video with clean cuts, good audio, and accurate colour will always outperform one loaded with distracting effects.
A few final details take your video from good to great. Simple colour correction is one of the most powerful adjustments you can make. You don't need to be a colourist. Most apps have sliders for brightness, contrast, and saturation. A small tweak makes timber warmer and whites cleaner. Finally, add your logo, subtly in a corner or at the start and end, so viewers always know who did the work.
The most polished video in the world is useless if the right people don't see it. This is the final step where your filming and editing turn into leads. Dropping a video online isn't as simple as hitting upload. Every platform has its own rules, and getting them right makes your craftsmanship look professional.
Format your video to fit the platform. Getting it wrong leads to awkward cropping or blurry playback. Instagram Reels suit a 9:16 vertical ratio up to 90 seconds, ideal for quick site updates. Facebook Feed works well at 4:5 or 1:1 and can run longer for client testimonials or project stories. YouTube is 16:9 horizontal, best for detailed walkthroughs. LinkedIn suits 1:1 or 16:9, ideal for company culture or major project milestones.
The caption gives your video context. A couple of clear sentences explaining what people are seeing is all it takes. Keep the language direct. Ask a question to get people commenting, like "What do you think of this custom joinery." And add a clear call to action, whether that's visiting your website or getting in touch for a quote.
Hashtags help people looking for a builder in your area find your work. Don't just use generic tags like construction. Get specific. Location tags like AucklandBuilder or WellingtonRenovation connect you with clients where you work. Service tags like CustomHomeBuilder or KitchenRenoNZ make your work clear. Project tags like CedarCladding or PolishedConcrete describe the build.
Be consistent. This doesn't mean posting every day. A simple schedule, say every Tuesday and Thursday, builds momentum and shows you're a reliable, active business. For a New Zealand audience, you'll find the most engagement during morning commutes (7-9 am), lunch breaks (12-2 pm), and evenings (7-9 pm). Video marketing keeps growing. Social media video ad spending in New Zealand could hit $459.46 million by 2025, and 89% of businesses in our region now see video as essential. A steady stream of quality content builds a following that becomes your best source of qualified leads.
It can take as much time as you give it, but a smart approach gets results without eating your week. Plan ahead and batch-film. When you have a camera operator on site for a milestone, capture enough footage for three or four short videos at once. A single two-hour shoot could give you a month's worth of content. Editing is quick once you nail a workflow. A basic social video can be edited and ready to post in under 30 minutes on your phone.
No, not if you don't want to be. Your work can, and should, be the hero. Project walkthroughs with a gimbal let the quality of the build do the talking. Time-lapses show progress, like framing going up. Detailed close-ups show the perfect mitre joint, the crisp tile lines. And client testimonials let your happy clients sell for you.
If you only have time for one, make it a client testimonial. Nothing builds trust faster than a happy customer sharing their experience. It's pure social proof, reassuring potential clients that you're reliable and deliver on your promises. Ask a recent client you have a great relationship with. Keep it informal and unscripted.
Onsite Media helps New Zealand's best builders create the high-end photo and video content they need to win high-value projects. If you want to look as good online as you do on site, book a no obligation call.
Your goal in editing is clarity, not complexity. Clean cuts and good audio outperform distracting effects.