
Architectural photography is the best way to prove the quality of your work. It’s about capturing professional, high-impact images of buildings that showcase your craftsmanship, build trust, and win you more contracts.
These aren't just photos. They're permanent marketing assets. They work for your business 24/7, long after the tools are packed away, helping you win better jobs.

Think of professional photography as your best salesperson. It works tirelessly on your website, social media, and in your proposals, showing potential clients the quality of your builds. In today’s market, a portfolio of blurry phone snaps won't cut it.
High-quality images signal professionalism and attention to detail—the exact traits a client looks for in a builder. They do the heavy lifting for you, building trust before you’ve even had the first conversation. When a homeowner sees a gallery of your flawless renovations, they aren't just looking at pictures. They're imagining that same level of quality in their own home.
Every completed build is a chance to generate future business, but only if you document it properly. This is where professional architectural photography turns a finished job into a lasting marketing tool.
These images serve a few key purposes:
A strong visual portfolio doesn't just show what you've done. It clearly communicates the standard of work you'll deliver on the next project. It’s the fastest way to build a client's confidence.
The demand for high-quality visuals is only growing. The market for architectural and design services in New Zealand is projected to hit $4.5 billion in 2025, reflecting our strong construction sector. As the industry expands, professional imagery is no longer a nice-to-have—it’s essential to stay competitive.
Investing in architectural photography is about attracting better work. It positions your company as a premium choice, helping filter out price-shoppers and connecting you with clients who value craftsmanship.
Whether you specialise in coastal renovations in Tauranga or new commercial builds in Auckland, the right images ensure you look as good online as you do on site.
And while photos are powerful, combining them with video can take your marketing to the next level. You can learn more about how a builder videographer can capture the story behind your projects and build your brand even further.
Let’s get one thing straight: taking professional photos of your building projects isn’t about buying the most expensive camera. It’s about having the right gear for the job.
You wouldn’t use a sledgehammer to fit a door handle. The same logic applies here. You’re on site, faced with a tight bathroom or a towering exterior. Your photography gear needs to solve these problems. It’s a toolkit designed to accurately capture the quality of your craftsmanship, making the difference between a photo that does justice to your work and one that falls flat.
For serious architectural work, the standard is a full-frame camera. Why? A full-frame sensor is physically larger than what you’ll find in a phone or a standard consumer camera.
This extra size means it captures far more light and detail, which translates directly into higher-quality images. Your photos will be sharper, look better in low-light indoor situations, and give you more flexibility when editing. It's the professional benchmark for good reason—it delivers the clean, crisp look that helps win clients.
If the camera is the foundation, lenses are where the real craft comes in. You need specific lenses to control perspective and capture the true scale of a space.
For builders, two are non-negotiable:
Wide-Angle Lenses: These are your go-to for capturing an entire room or a full exterior, especially when you can’t step back far. A good wide-angle, like a 16-35mm, fits everything into the shot without weird distortion. This is critical when you’re shooting a compact kitchen in a new Auckland build or showing off a renovated bathroom.
Tilt-Shift Lenses: This is the specialist gear that separates pros from amateurs. A tilt-shift lens gives you perspective control. It lets the photographer shift the lens up, down, or sideways, independent of the camera. This corrects the vertical lines of a building that often look like they're falling backwards when you aim the camera up.
Without a tilt-shift lens, a two-storey home can look like the Leaning Tower of Pisa, making the structure seem wonky. This lens ensures every wall and window frame is perfectly straight, reflecting the solid, true geometry of your build.
A sturdy tripod is one of the most important pieces of equipment you can have. In this line of work, sharpness and precision are everything. A tripod gets rid of camera shake, which is essential for crisp, detailed shots, especially in dimly lit interiors where the camera needs to be perfectly still.
It also forces a more methodical approach. By locking the camera in place, the photographer can fine-tune the composition, check that every line is perfectly level, and take multiple photos to blend later for a flawless final image. You can't get professional results without one.
This gear works as a system to produce images that are clean, accurate, and professional. It's an investment in presenting your work with the same precision and care you put into building it.
Having the right camera gear is one thing. Knowing how to use it on a building site is another. This is where the craft of architectural photography comes in—taming light and shaping composition to make your work look as strong on screen as it is in person.
A great architectural photo is never an accident; it's planned. That means showing up with a solid plan to capture the building in its absolute best light.
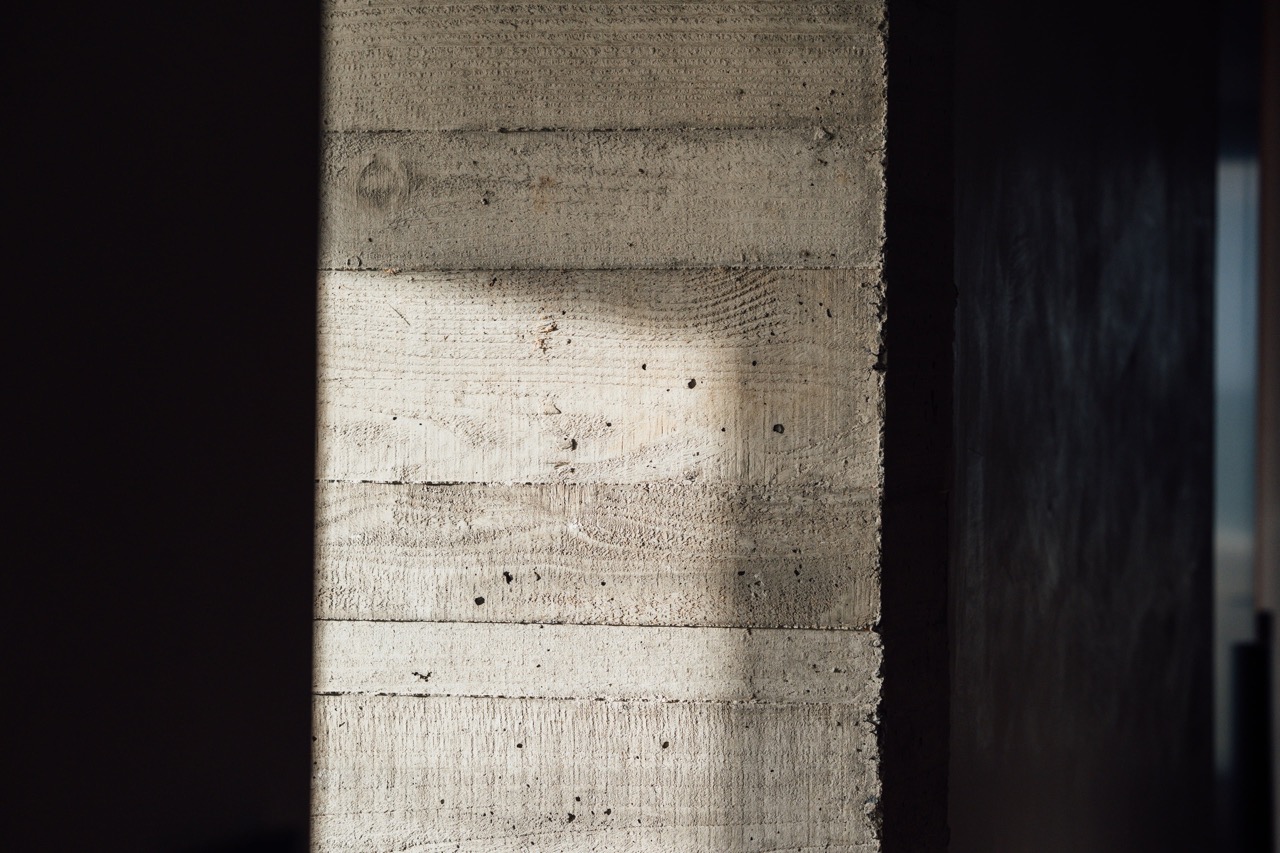
Natural light is your most powerful asset. The way the sun moves across a building can completely transform its look, creating depth and defining its form. The trick is to work with the sun, not against it.
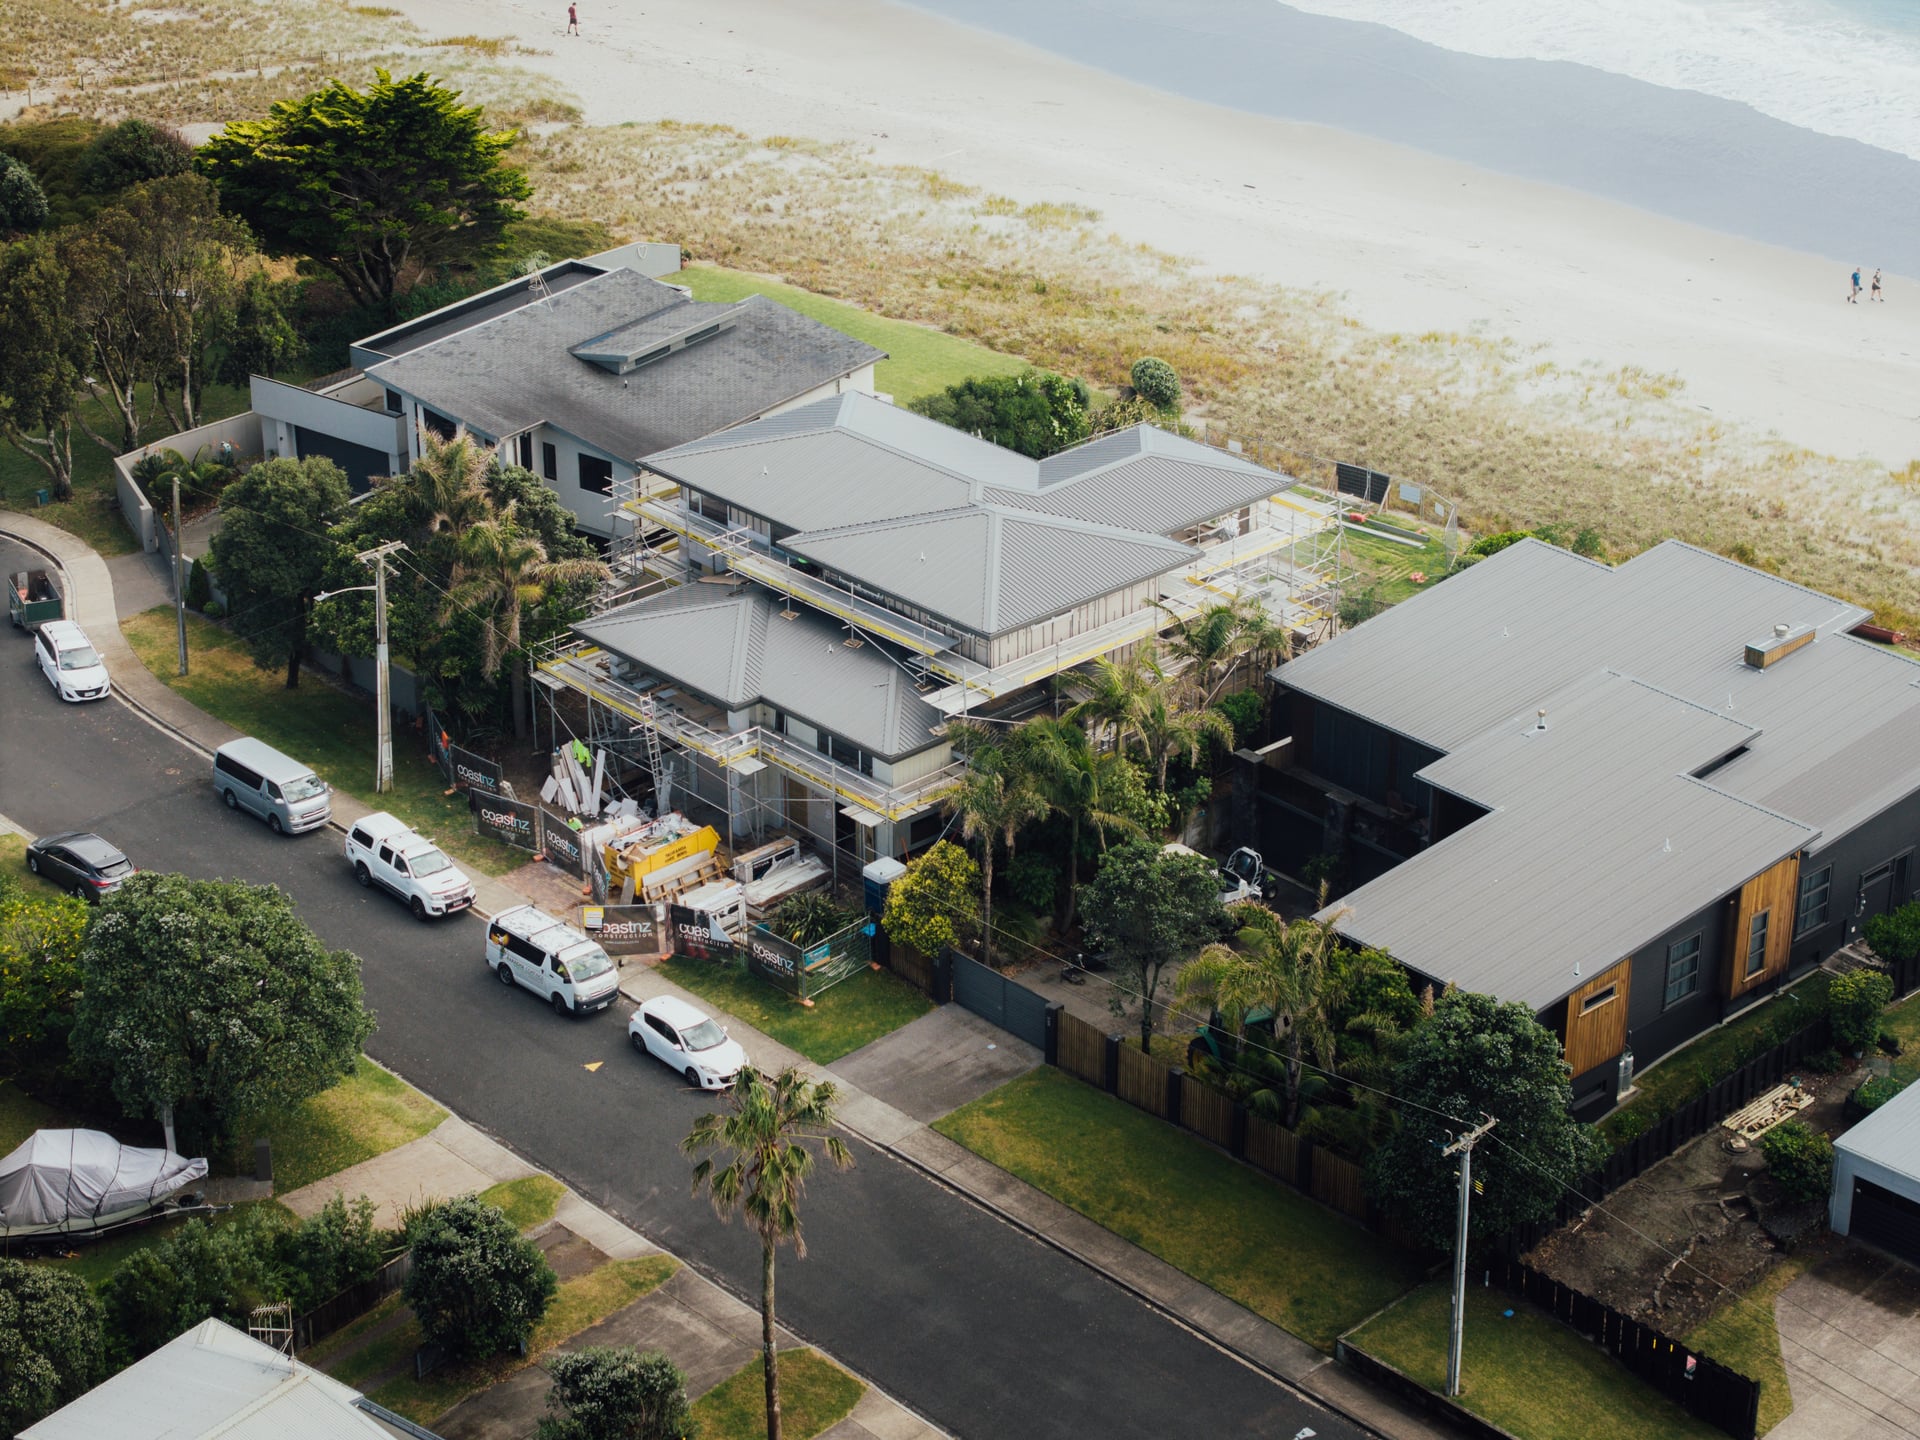
Planning starts days before we set foot on site, using apps to map the sun's path over the property. If we're shooting a new build in Tauranga with big ocean views, we’re capturing that east-facing facade first thing in the morning for that crisp light. For a west-facing deck, an afternoon shoot is the only option to get that warm glow as the sun goes down.
This foresight prevents harsh, ugly shadows that can swallow up your best work.
Then there's the "golden hour"—the short window just after sunrise and before sunset. The light is soft, warm, and comes in at a low angle, creating gentle shadows that give a building dimension and drama. It’s the kind of light that makes materials look rich and inviting.
Capturing a project during the golden hour can elevate it from a simple building to an aspirational home. It’s the difference between a snapshot and a shot worthy of a magazine cover.
Here’s a quick look at the essential kit needed to get control of the light and composition on your site.

This visual breaks down the core toolkit—the camera, lens, and tripod. Each piece plays a critical role in getting the polished, professional results that do justice to the quality of your build.
Composition is how you arrange things in the frame to tell a story. For a builder, that story is about strength, quality craftsmanship, and smart design. Good composition guides the viewer's eye, making the building feel balanced and purposeful.
Here are a few simple rules that make a huge difference:
Great light is one part of the equation, but refining your visual storytelling with these tips to improve your photography composition is what really brings it all together.
Natural light is the hero, but sometimes it needs help, especially indoors. Dark corners or rooms with small windows can look gloomy and small. That’s where supplemental lighting—strobes or flashes—comes in.
The goal isn't to blast the room with light. It’s about subtlety. We use flashes to gently "fill in" shadows, balancing the bright light from a window with the darker parts of the room. This creates a more natural, even exposure that lets people see every detail of your interior work.
You can see how this careful balance of light makes all the difference in the finished images on our projects page. It’s this mastery of on-site skills that ensures your build is presented with the same care you put into building it.
https://www.youtube.com/embed/5x3Hy7zie94
Clicking the shutter on-site is only half the job. The part that produces those clean, high-impact images happens afterwards in post-processing. This is the digital editing stage where good photos become great marketing assets.
Think of it like the finishing trades on your builds. The structure is solid, but it’s the plastering and painting that makes the work shine. Post-processing is our version of that final polish. It’s a non-negotiable step for professional results that will help you win work.
A photo first comes out of the camera as a "raw" file. This file contains a massive amount of unprocessed data, giving us maximum flexibility to make precise adjustments without losing quality.
The goal is realism, but an enhanced version of it. We’re not trying to make the building look like something it isn't. Instead, we’re removing distractions and fixing technical imperfections so the viewer can focus entirely on the quality of the build itself.
Post-processing isn’t about changing reality; it’s about removing the distractions that get in the way of seeing it clearly. The aim is to present your work in its absolute best light.
A crucial step in producing stunning architectural visuals involves comprehensive image editing to refine details, correct colours, and optimise exposure. This meticulous process turns a standard photograph into a powerful tool that helps win contracts and build your brand.
The editing process is methodical and detail-oriented. Every image goes through a series of adjustments to meet a professional standard.
Here are the essential steps we take to perfect every photograph:
This deliberate process is what separates a professional shot from a snapshot. It’s a vital part of architectural photography that ensures the final images build your credibility and help you attract the clients you want.

So, you’ve got a folder full of professional photos. Now what? These images are tools designed to go out and win you more work. The final step is putting them to work across all your marketing channels.
Great architectural photography is an investment, not a cost. It generates a return by attracting the right clients—the ones who appreciate quality and are willing to pay for it. The goal is to make these assets work hard for your business long after the shoot is over.
Your website is often the first place a potential client will go to size you up. It’s your digital showroom, and it needs to look the part. Your homepage and project galleries should be packed with high-impact images of your best work.
When a visitor lands on your site and immediately sees a portfolio of clean, professional builds, it builds instant trust. They see hard proof of your craftsmanship and attention to detail. This positions you as a premium, reliable choice before they even pick up the phone.
A well-curated website gallery acts as your silent salesperson. It qualifies leads by showcasing the high standard of your work, making your business the obvious choice for clients who value quality.
One of the most effective ways to use these photos is in project case studies. Pair a selection of your best shots with a brief, straightforward description of the build. Talk about the challenges, the materials, and the final result. This gives potential clients a clear story of what it’s like to work with you.
Platforms like Instagram and LinkedIn are perfect for showing off your work to a wider audience. Posting high-quality project photos consistently keeps your business top-of-mind and reinforces your brand’s commitment to quality.
The difference between a builder who posts professional shots and one who relies on phone pictures is huge. The former looks established and trustworthy. Strong visuals are a key part of effective builder content creation that gets real results.
Don't overlook the power of traditional marketing. High-quality photos are essential for industry award submissions, where judges often make decisions based on the visuals you provide. A winning entry can give your reputation a massive boost.
Your photos are also critical for print materials like brochures, flyers, and site hoardings. A professionally shot image on a brochure leaves a lasting impression of quality and professionalism.
This is why great architectural photography costs what it does. Research shows that over 75% of architectural photographers in Australia and New Zealand have a day rate between NZ$2,000 and NZ$3,000. This reflects the specialised gear, skill, and detailed post-production work required. You can learn more about these industry standards and what goes into the pricing on APAlmanac.com. Every dollar spent on great photos pays for itself by helping you win bigger and better contracts.
Architectural photography in New Zealand isn't a new marketing trend; it’s a craft with a deep history. Long before social media or website portfolios, photography was used to document the growth of a nation finding its feet. It was a way of recording history as it was being built.
From the moment the first colonial towns were laid out, photographers were there, capturing the changing face of Aotearoa. These early images were more than just snapshots. They were vital records of public works, significant buildings, and Māori architecture, telling a visual story of how our built environment came to be.
This historical context gives our work today more meaning. Documenting a building has always been about more than the structure itself. It's about preserving a record of craftsmanship, community, and progress. Your work is a continuation of this long tradition.
The roots of this practice go back to the mid-19th century. As European settlers arrived, they recorded the rapidly evolving landscape. These early photographs—now preserved in archives—are some of the only visual records we have of our country's first European structures. You can dive deeper and explore the evolution of NZ's built environment on Wikipedia.
By professionally documenting your projects, you're not just creating a sales tool. You're contributing to the historical record of your community and honouring a craft with a rich heritage.
Understanding this history elevates what we do. It adds a layer of purpose. When you commission high-quality architectural photography for your latest build in Christchurch or a renovation in Wellington, you're connecting your modern work to this legacy.
It’s an act of pride in your craftsmanship. You're ensuring the skill poured into your build is captured permanently. You're not just getting photos; you're creating a visual asset that speaks to your expertise and solidifies the building's place in New Zealand's ongoing architectural story.
We get asked these all the time by builders and tradespeople. Here are the straight-up answers, focused on what you actually need to know to get photos that do your work justice.
This is always the first question, and the honest answer is: it depends. The price is tied to the scope of the job—how many finished photos you need, the size of the site, and how complex the shoot will be. A half-day session for a simple bathroom reno will cost less than a multi-day shoot for a brand-new architectural home.
Think of it as an investment in a marketing asset. When a professional photographer gives you a price, they're factoring in experience, specialised gear, editing time, and image licensing. A typical project can land anywhere between $1,500 to $5,000+, but a good photographer will always give you a clear quote upfront. No surprises.
For a standard project, expect the photographer to be on site for a full day. This gives them time to capture your work in different lighting, from the clean morning light to the warm glow of late afternoon.
Rushing this process doesn't work. It takes time to find the best angles, set up lights if needed, and compose each shot to show off the quality of your build. For bigger projects, a shoot might stretch over two days to make sure every detail is documented perfectly.
A well-planned, full-day shoot is standard for a reason. It ensures we have enough time to work with the changing light and capture every detail of your craftsmanship without cutting corners.
This part is huge. Site preparation directly impacts how good the final photos will look. A clean and tidy site is essential. Before the photographer shows up, the property needs a thorough clean, inside and out.
Here’s a quick checklist:
The cleaner the site is, the less time the photographer has to spend digitally removing distractions later. That means a better, more authentic final product for you.
Ready to showcase your projects with professional photos that win you more work? Onsite Media is New Zealand's expert in creating high-impact visual content for the construction industry. We help you look as good online as you do on site.
